Good Evening everyone.
As I promised here is the awaited post! I have been wanting to do this for a while and just never really had the time or energy to make sure it worked right, until now! And best of all it's relatively cheap. Cheaper than buying Glimmer mists themselves. And this method is cheaper than using Perfect Pearls.
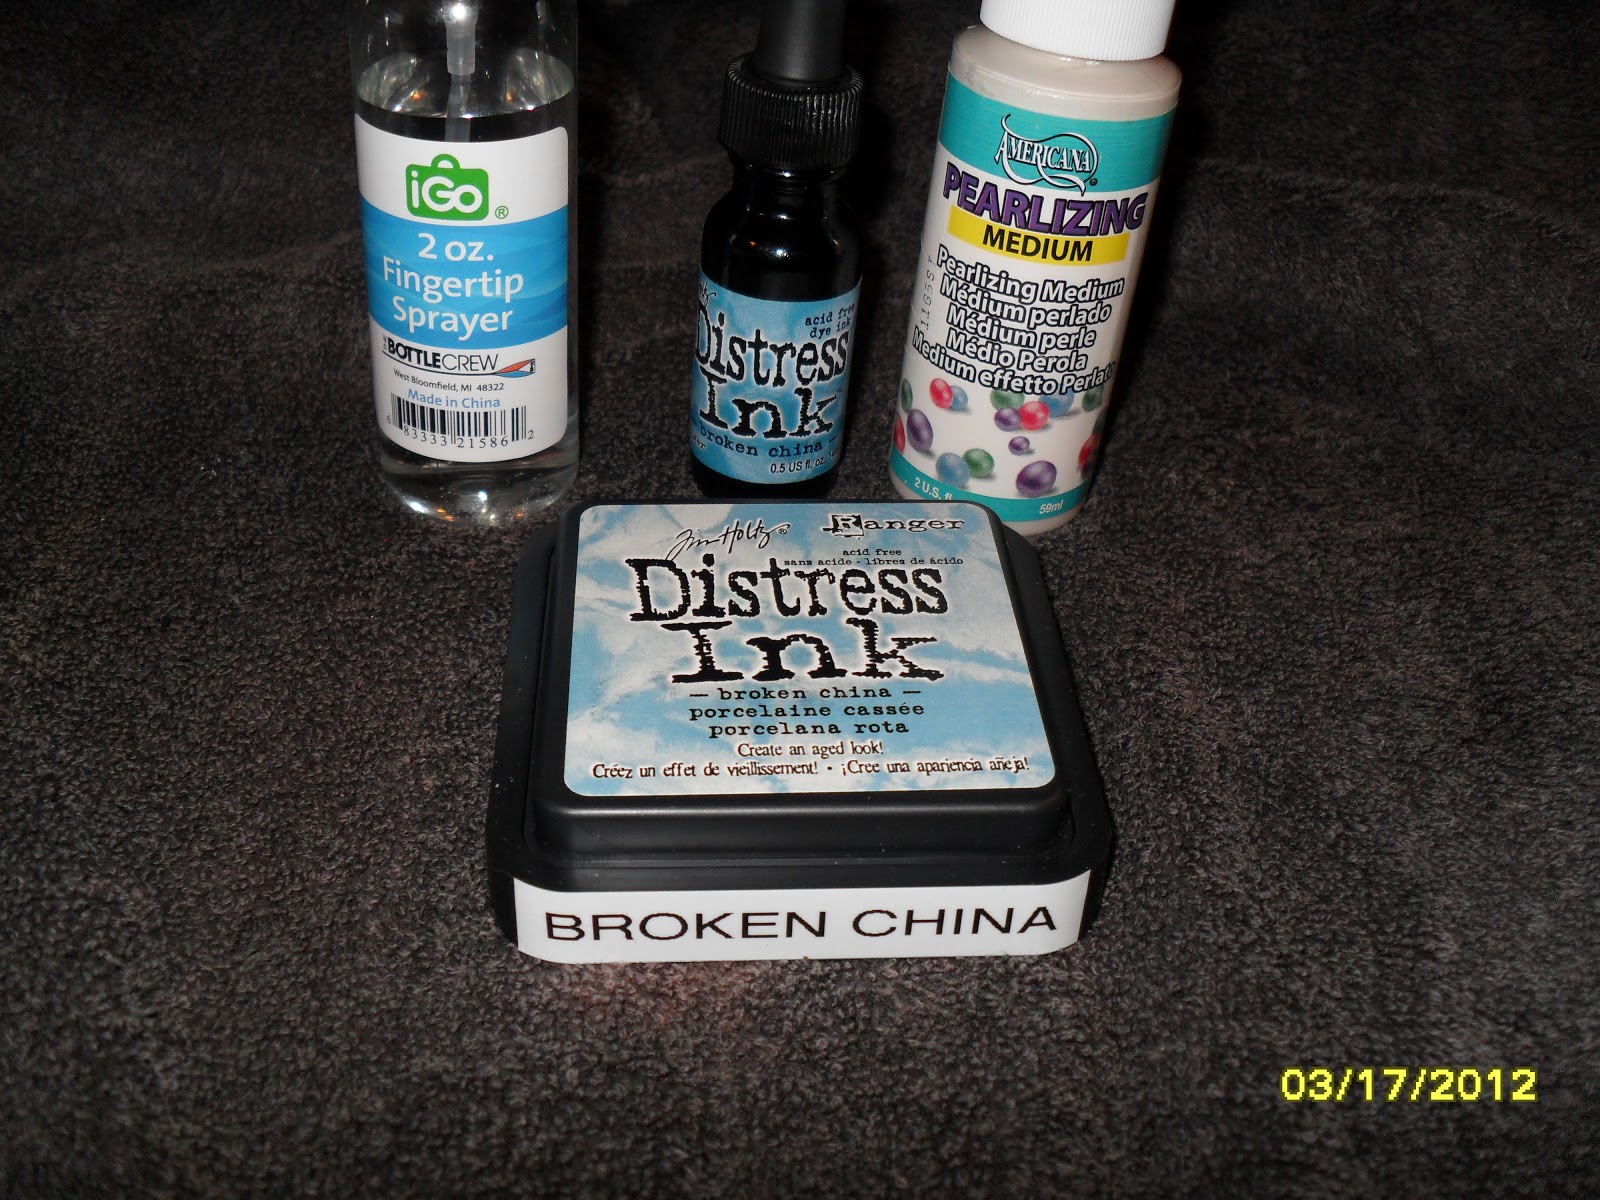
Here is what you will need:
Tim Holtz ReInker (any color, I used Broken China)
Small Spray Bottle (any size)
Water
Pearlizing Medium
Tim Holtz matching Ink Pad (optional)
Step One:
Fill your bottle about 3/4 of the way up. You will learn as you go how much you will really need. I started out with less, but I found this is the right amount to get the color that I wanted to achieve.
Step Two:
Add the Pearlizing Medium to your water. You only need a small amount. It all depends on how much Shimmer you want it to have; if you want less you add less and if more you add more.
After you add the shimmer, I shake it up. (This is also optional.) (This is about Three (3) drops of the medium)
Step Three:
Add your ReInker. At first I added about Ten (10) drops. (after I did my first sample shown below, I decided that it wasn't as dark as I wanted it to be so I added Ten (10) more drops.) Again, this is all to your preference; Depending on how dark or light you want your color to be.
Step Four:
For the Tim Glimmers I use it with the Distress Ink pad, as seen in the same picture here. When I test out the the spray to make sure its the color I want, I inked part of my sample paper to see what it would look like. You do not have to do this at all. You can just use it on plain paper if you would like.
Step Five:
Spray a sample sheet to make sure it is the color you want it to be. If you make it too dark then you can just pour some out and then add more water. To darken the color just add more drops of the ReInker. If it does not have enough glimmer for your taste then you just add more of the peralizing medium. (This one (>) is my first test and that is when I found out that I wanted more ink for the color to show up more on white paper.)
Very Important:
** You have to make sure that you shake your spray bottle before
EVERY use. The glimmer settles at the bottom. As shown here:
There you guys have it! I hope you enjoyed it and that it was helpful. If you have any questions let me know and I will be happy to answer them. I will be updating tomorrow with how to make normal glimmer mists.
Until Next Time ^_^


Thanks for sharing. I have been trying different ways to make mists. I will need to give it a try.
ReplyDeleteDon't forget to stop back tomorrow, I will show you how to make them with paint! Thanks for the visit!
DeleteThanks! It is easy enough for the mad scientist in me to come out and try. It looks pretty.Something that can become addicting.
ReplyDeleteIt is super easy! and also VERY VERY addicting hahaha good luck!
DeleteGreat tutorial! Very easy to follow. Can't wait to see what you do with the paint!
ReplyDeleteThanks. I will be working on the paint post in a couple of hours after I finish my homework, for work. I am glad that it is easy to follow I tried to make it that way. Some of the tutorial I found made it seem very complicated. So that was my goal, and is my goal for all my tutorials make everything easy as it can be!
DeleteAWESOME..thanks for sharing! :)
ReplyDeleteYou are very welcome! I am working on the regular glimmer mist tutorial in a little bit be sure to check it out!
DeleteI love this! You make it seem so easy to do! Thank you for posting this, I can't wait to try it!!!
ReplyDeleteIt is relatively easy! Cant wait to hear about how you like it! and see your beautiful creations!
Delete