Monday, May 14, 2012

Mothers Day!

I hope that everyone had a wonderful happy Mothers day!  I know I had a great times with my mom!!!! I had to work most of the morning. Got asked to stay later. I stayed I couldn't pass up the over time. It made for a very very long day for me. I went into work at 430am, by the time I got home last night it was after 9pm!!! I had planned on sharing with everyone a card I made for my mommy and also show you a sneak peak of Tutorial Tuesday. But by the time I got home after driving home for an hour I was beat and just went to bed because I had to work this morning at 3am.

Anyways enough about that on to the good stuff. I made two mothers day cards this year. One for my mom and one for my future Mother In Law. I also made it a card that I had never made before! I just recently saw the style on a blog that I just found the other day. Here go check her out HERE I made a side step card. It is very very simple to make as everyone will find out on Tutorial Tuesday. I will be showing you how to make this card:
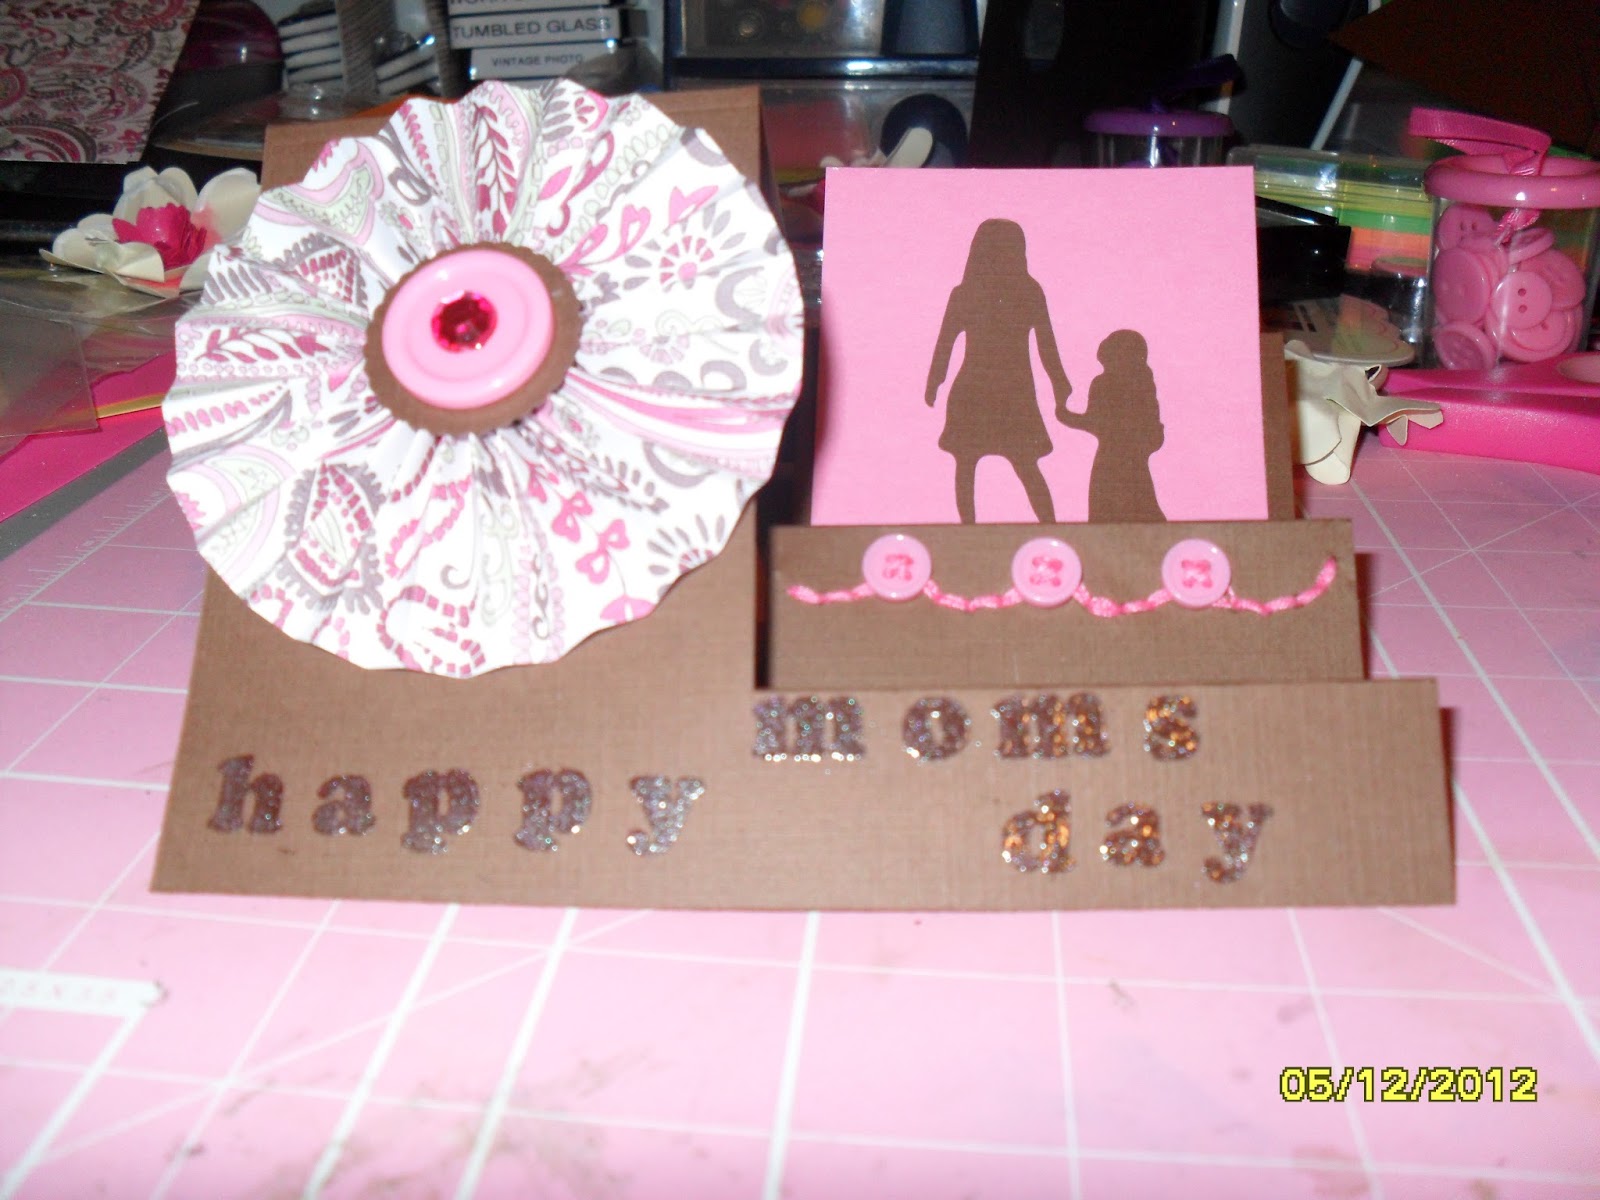
This is the card I made for my momma. My mother in laws card was the same thing just in purple paper and designs not pink. They both turned out great I loved making this new card. It just as easy make a normal everyday plain Jane card. :)

While I was out yesterday we did our new tradition that we started last year. We went into Teavana. We have been going for a few years now and at least getting a tea to go. Well this year after every time of walk in that store I decided that I was going to buy the tea that I love so much this year. As we talked to the sale women she mentioned just $10 off of a $30 purchase. Well with my tea the special tea maker that I wanted and the rock sugar I was going to be spending over $40 and that was a little too much for me. I would have rather have scrapping stuff that the tea it has never been worth it. But with the coupon it made my purchase $30 instead of $40! It was worth it! I was so happy with my purchase. It wasn't scrappy but it is something that I can enjoy while scrappin away! :)

Sorry today wasn't so scrappy but tomorrow Tutorial Tuesday will be up and it will be all about scrappin1 :) Enjoy your Marvelous Monday!

Until Next Time!

Thursday, May 10, 2012

New Changes

Some of you guys have noticed this already. For those of you who haven't. Part of the new changes I was talking about the other day. If you noticed in the URL it now says blog.scrapprincess.com!!!! I now have my own URL. There are a lot more changes to come. More to do with the URL, I am working on some stuff and should be able to post with a major update by the end of the month. :) 

Don't worry if you don't remember the new URL. If you still type in my old URL it will be redirected to the new one! I am so excited about this new change! There are lots more to come! 

Until Next Time :)


Tuesday, May 8, 2012

Tutorial Tuesday- Rosette with the MS Scoreboard

Tutorial Tuesday is here again. Today I am going to show you how to make the Rosettes with the Martha Stewart Scoreboard. This was the main reason I bought my MS scoreboard.
What you will need:
Martha Stewart Scoreboard
Bone Folder (Can use the one that comes with the scoreboard)
A strip of paper 1.5inches X 12 inches
Hot Glue Gun
A circle punch ( or something similar)
Two punched out pieces of paper (doesn't have to match you paper)
**For this option you dont have to have two punched out you can just have one for the bottom to keep the Rosette together and just add bling or button to the top if you prefer. I will post a Picture of that at a later date when I use one for a project.

After watching about 10 different YouTube videos I finally figured out the perfect way for me to do it. It was a little confusing to watch and try to figure out at first, Once I did though it was so easy!

First you are going to cut a strip of paper to about 1.5 inches. I left my paper the full length of 12 inches.You then take your bone folder and make the score marks in basically every other one. I do them in the blue marks but you can do the brown marks if you prefer.
 *Just a hint make sure that you are not pressing down too hard you will rip you paper as you score but if you don't press hard enough you won't score the paper and it will be hard to fold right.
After you score your whole length of paper, you then fold the paper every other way. Making  a ladder fold ( I think is what its called) Most of the videos talked about making hills and valleys. You just fold it forward then back and repeat until the whole paper is folded on the score marks.

At this point I plugged in my hot glue gun to warm up. You then Cut on end off at the fold so you can glue the two ends together like so and make it all uniform. You put some hot glue on your little punch or whatever you want to use. You then take your circle of folded paper and you take the center and you push down gently and you flatten your circle so your center comes down on the hot glue on your punch.

You then hot glue a punch on the top and add a button or a piece of bling. Here I added bling. Normally I would have used a better matching paper but I wasn't going to use this in a project. This one was created just for you guys and this tutorial. :)

And there you have it the finished product! I hope you enjoyed this tutorial, if you have any questions I will be glad to answer them, just let me know!


Until Next Time! ^_^